Showing posts with label Foodie fairy. Show all posts

Thursday, September 12, 2013

Pumpkin Oat Cookies!

     Who else is ready for fall?! I KNOW I am. I've already got decorations going up, a fall-inspired candle (Sugared Pecan) flickering in the background and pumpkins GALORE! Okay, I haven't actually bought a pumpkin yet, but I DO have canned pumpkin ready and willing to go into anything! I know, I know, I seem a bit crazy over fall, but I wait an entire year for it! There's something about the fall and winter months that makes me so incredibly happy. I guess that's when all of the best memories are made. Around Thanksgiving and Christmas, tons of time is spent with loved ones, not to mention decorations are flowing non-stop! Michael and I are already trying to determine what our Halloween costumes are going to be this year. We are thinking of doing a "couple" themed costume (Beauty & The Beast, Darth Vader and Queen Amidala, etc.); any suggestions?
 
     On to the recipe, these cookies are SO delicious! They do not contain any butter or oil, so you could almost make them a fat-free cookie, but then it isn't very decadent. Anyways, I used a mixture of white and semisweet chocolate chips and a mixture of dried cranberries and dried raisins for my cookies. They are absolutely delicious. The pumpkin keeps them moist and chewy, without making them too dense. The chocolate chips and dried fruit add a hint of sweetness in every bite. All in all, I'd say these cookies are a winner.

*You will definitely need to remember to flatten these cookies to a shape and size you prefer. Because there is no butter or oil in this recipe, the cookies will not spread when baking, so flattening is a must! Also, the leavening agents don't have anything to react to, so there won't be much rising. It does, however, make the cookies puff up ever so slightly and I'd miss it if it weren't there!
 
 
PUMPKIN OAT COOKIES
Yields: 13 cookies

1 egg
½ c. pumpkin puree
1 tsp. vanilla extract
½ c. chocolate chips
¼ c. dried fruit
¾ c. all-purpose flour
1 ¼ c. oats
½ tsp. baking soda
¼ tsp. baking powder
2 tsp. pumpkin pie spice
¼ c. dark brown sugar, packed
¼ c. granulated sugar
 
 
Line a baking sheet with parchment paper and preheat the oven to 350F. In a small bowl, combine the egg, vanilla, and pumpkin until blended.
 
In a larger bowl, combine the remaining ingredients until mixed thoroughly.
 
Add the dry mixture all at once to the wet and fold to combine. Avoid over mixing by mixing only until all dry ingredients are moistened.
 
Using a spoon, place the cookie dough on the baking sheet.
 
You will need to flatten them or shape them how you want them and bake for 13 minutes. Allow to cool completely on the baking sheet and transfer to an airtight container.
 
 
Nutritional Info
  • Servings Per Recipe: 13
  • Amount Per Serving
  • Calories: 117.6 
  • Total Fat: 3.5 g    
  • Cholesterol: 14.2 mg
  • Sodium: 63.7 mg
  • Total Carbs: 21.3 g
  • Dietary Fiber: 1.3 g
  • Protein: 1.7 g

Tuesday, August 27, 2013

Flank Steak Stir-Fry with Asparagus and Bell Pepper


     This is a delicious dish that you can whip up in no time. It's fast, it's easy, it's STEAK! Those are three things that I think most Americans LOVE together. There's something about tender slices of beef flavored with soy sauce, ginger, and garlic that makes someone fall in love. Not really, but it's more sophisticated than your ordinary redneck BBQ found here in the south, sans beer. I'm sure you could add some alcohol in this dish to add even more depth of flavor, (red wine) but here, I kept it simple stupid. I loved it, Michael loved it, YOU will love it! Seriously, give it a try! What do you have to lose? (Maybe a few eyebrows if you throw in your alcohol without removing from heat first).
I'm done, enjoy your meal!

Flank Steak Stir-Fry with Asparagus and Bell Pepper
Yields: 4 servings


2 tbsp. vegetable oil

½ lb. asparagus, trimmed into ½” pieces, parboiled *SEE NOTES*

½ lb. flank steak, sliced thinly, into ¼” strips

½ bell pepper sliced ¼” strips

2 tsp. cornstarch, dissolved into 2 tbsp. water
 

All-Purpose Stir Fry Sauce

3 tbsp. soy sauce

1 tsp. grated ginger

1 clove garlic, grated

½ tsp. chili oil (for those who like it spicy)


First, prepare the all-purpose stir fry sauce in a small container and set aside. This will allow the flavors to combine. Next, stir-fry the asparagus in 1 tbsp. oil over high heat for 1-2 minutes until lightly browned.
 Remove and set aside. Using the remaining oil (add more if necessary), stir fry the beef strips just until browned. (The strips should remain pink inside.)
 
Add the bell pepper and stir fry for 2 minutes, or until the strips begin to wilt. The bell pepper adds a great texture to the dish if kept tender-crisp.
 
 
Add the corn starch mixture and the stir fry sauce and stir quickly (liquids will thicken fast). Return the asparagus to the pan and toss to coat thoroughly with sauce. Serve over rice.
 
·         Since the only salt being added here is soy sauce, make sure you taste for seasoning before serving, as my final dish needed additional salt.
Asparagus is a great vegetable to add to dishes because it has a great flavor and keeps a bit of crunch after cooking (provided it’s cooked properly). To prepare the asparagus and to parboil it, you will first need to inspect your asparagus to get rid of any of the unwanted spears. Any spears that have “heads” which are not closely knit should be discarded. Next, you’ll want to remove the woody ends, as they are tough and fibrous—not pleasing to the palate. To do so, hold a spear between both hands and bend it, the spear will snap where it begins to be tender. Repeat this step for all the spears, or simply use the first spear as a guide and cut the same length off the rest of the asparagus. Next, cut the spears on the diagonal about ¼” pieces.
To parboil the asparagus, bring a pot of water to a boil, add the asparagus, and cook for 1 minute, or until the asparagus is a bright green color. If it cooks until it is an olive green color, the asparagus will be mushy and the color isn’t very pretty. Next, drain the asparagus and “shock” it with ice water—this will stop the cooking process, keeping the asparagus tender-crisp and beautiful.
Nutritional Info
Servings Per Recipe: 4
  • Amount Per Serving
  • Calories: 138.3 
  • Total Fat: 7.8 g    
  • Cholesterol: 28.4 mg
  • Sodium: 493.2 mg
  • Total Carbs: 4.5 g
  • Dietary Fiber: 1.3 g
  • Protein: 13.1 g
 

Monday, August 5, 2013

Potato Pancakes!

     While school was keeping me busy, I was trying to think of things to prepare that were quick, simple, and easy. There are a TON of ideas that came rushing to my head, this is one of them, because it uses leftovers – something that is already prepared! My mom had specially requested these, so I finally decided to make them for the website (these are yours, Mom.) They are simple, require little effort, and just need a little love!

     This uses leftover mashed potatoes; it is important to note that the potatoes MUST be chilled. Warm or room temperature potatoes seem to fall apart much easier than if they have been chilled overnight. If you plan to make mashed potatoes specifically for this recipe, keep in mind they need to chill at least 5 hours or overnight.

Potato Pancakes
Yields: 24 ½” pancakes

¼ c. all-purpose flour
1 egg
½ c. onion, minced
4 c. mashed potatoes, chilled
Vegetable oil
 

     In a large bowl, combine all the ingredients well.
 
In a large skillet over medium heat, heat some oil. Using a spoon or ice cream scoop, add the potato mixture to the pan, flattening as best as possible.
 Cook until brown on one side, about 3 minutes. Flip the potato pancake over and then flatten with the back of a spatula. Cook an additional 3 minutes, or until browned to your liking.
 
 
It's that easy! Enjoy these with eggs and bacon for breakfast or in place of mashed potatoes with
dinner! SO simple and delicious!
 
Nutritional Info
  • Servings Per Recipe: 8
  • Amount Per Serving    
  • Calories: 132.2
  • Total Fat: 4.3 g    
  • Cholesterol: 33.0 mg
  • Sodium: 11.3 mg
  • Total Carbs: 21.1 g
  • Dietary Fiber: 0.2 g
  • Protein: 3.4 g

Sunday, July 14, 2013

Chicken Alfredo Fakeout!

I remember one time when I went to Olive Garden one time and ordered the Fettuccine Alfredo. I probably won't EVER do that again. Come to think of it, I don't know if I really enjoyed the flavor of it all that much. It was very heavy, but the flavors didn't linger on my tongue like most rich and creamy sauces would. This creamy sauce coats the pasta so well, I'd say it may be better than Olive Garden's! (; This is my version of a light Chicken Alfredo that tastes, in my opinion, better than Olive Garden's!

Chicken Alfredo Fakeout!
Yields: 3 servings


1 tbsp. extra virgin olive oil
12 oz boneless skinless chicken breast
4 cloves garlic, crushed
2 tbsp. onion, finely chopped
2 c. chicken stock, sodium-free
1½ tbsp. butter, unsalted
1 oz. cream cheese, softened
½ c. all- purpose flour
½ tsp. black pepper
½ tsp. salt
½ tsp ground thyme

Between two pieces of plastic wrap, pound the chicken breast to approximately ½" thick. (I cut mine in half) In a shallow dish, combine the flour, pepper, salt, and thyme until blended. Coat the chicken thoroughly in the flour. In a skillet, heat the olive oil over medium heat. Add the chicken and cook on each side approximately 4 minutes, or until cooked through. Once fully cooked, remove from skillet and set aside. 
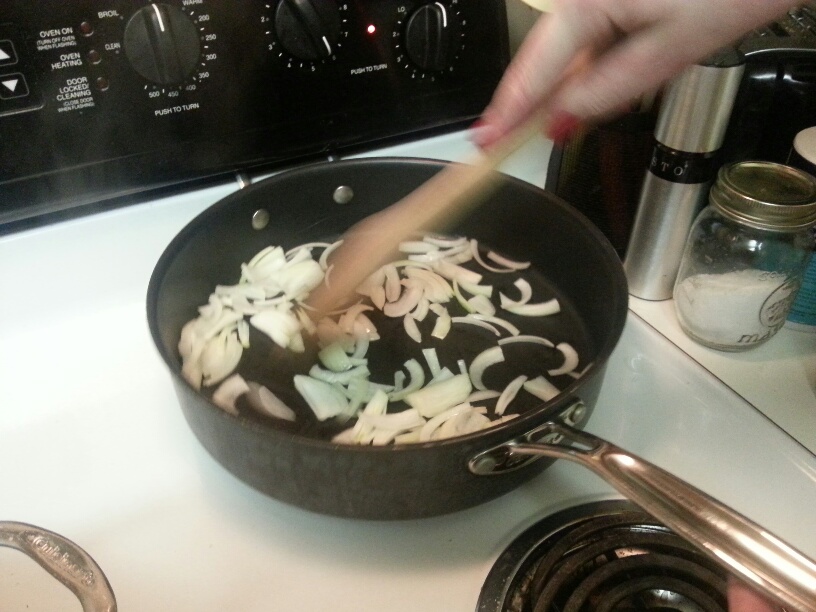
Add the butter, and using a wooden spoon, begin deglazing the pan with the melted butter. At this point, the butter should be brown and have a nutty fragrance. Add the onions and saute for 2 minutes, or until softened. 
Add the garlic and stir while cooking for 30 seconds to 1 minute. Next, add the flour to make the roux. Stir the flour and butter continuously until a golden brown color occurs.
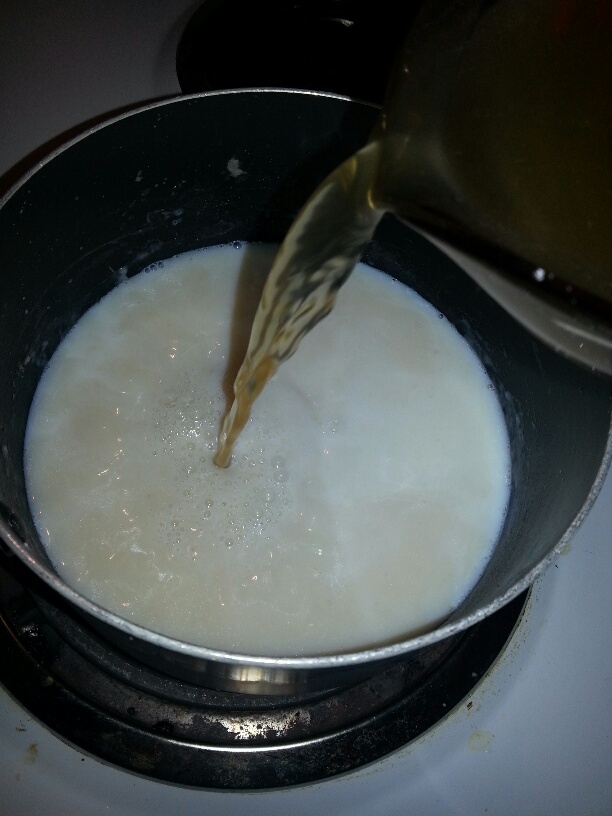
 Add the milk and stir continuously. The mixture will begin to create lumps, this is normal.
 Add the chicken stock slowly, while continuing to stir.
 Allow to come to a boil and stir often. Once all the chicken stock is incorporated, remove from the heat and stir in the cream cheese.
 Stir for approximately 2 minutes, or until there are no lumps. Add the chicken back in and heat for about 4-5 minutes, just to warm through.

Serve over pasta and enjoy!

Nutritional Info
  • Servings Per Recipe: 3
  • Amount Per Serving
  • Calories: 219.7
  • Total Fat: 10.1 g
  • Cholesterol: 90.9 mg
  • Sodium: 667.6 mg
  • Total Carbs: 8.1 g
  • Dietary Fiber: 0.5 g
  • Protein: 25.4 g


Wednesday, July 10, 2013

Swedish Meatballs, yummy!

There isn't much to say about these Swedish meatballs, other than delicious! While hand forming tiny meatballs takes a bit of time, they are SO good. They are lower in fat than meatballs fried in a skillet, because they are baked in the oven, but still get the crispy exterior that everyone loves! Trust me, these are better than Ikea's! *No horse meat jokes* I do want to recommend that  you mix all the ingredients before you add the ground beef. Because the beef is so lean, you'll want to mix the ingredients until they are just combined. Otherwise, the meatballs will become a bit tough and chewy, not fluffy little pillows!

Swedish Meatballs
Yields: 8 servings

2 lbs. lean ground beef
3 c. panko
1½ c. skim milk, divided
2 eggs
2 garlic cloves, minced
½ tsp. ground allspice
3 tbsp. butter, unsalted
⅓ c. flour
3 c. beef stock
salt and pepper, to taste

Preheat oven to 475 F. In a large bowl, combine ½ c. milk, eggs, garlic, salt, pepper, and allspice.


  Since the meat has not been added, feel free to mix this to your heart's content. Once well blended, add the panko and beef and combine only until blended. 


Line a baking sheet with aluminum foil and using a 1-inch cookie scoop, form the mixture into meatballs. 

(I got 48.) You may need two baking sheets, and bake until brown and crispy. This should take approximately 10 minutes, and rotate the sheets if using two.


Meanwhile, in a medium saucepan, melt the butter over medium-high heat.
 Add the flour, continuously whisking, to cook out the raw taste. Gradually whisk in the remaining milk and beef broth, bring to a boil.

 Reduce the heat and simmer until the sauce has thickened, approximately 2 to 3 minutes. Using a slotted spoon, add the meatballs to a bowl with the sauce, toss to combine. Serve over egg noodles and enjoy! 

Sunday, April 7, 2013

Nom Nom Stir Fry!

     Sometimes, you just don't feel like going out for dinner, but want to cook something simple, easy, and delicious. Most think time-consuming meals aren't worth it because there is usually not much time to cook when you come home from your workday. Either that, or you just lack all energy from exerting yourself at work. Your boss knows how hard you work, right? Stir fry dishes are a great way to go if you want something quick and delicious and they are very versatile, in that you can use up leftover vegetables that you don't know what to do with. Cabbage is also a common ingredient in stir fry, and it really helps you stretch your dollars. It's generally around $0.59/lb and 2 pounds is ALOT of cabbage! It's a great addition to meals! (It's great in soups, too!) 

     No teriyaki sauce? I've linked my recipe for it in the ingredients section! (;


Chicken and Cabbage Stir Fry
Yields: 3 servings

1 tbsp. vegetable oil
1 tsp. pepper
1 tbsp. sugar
2  cloves garlic, minced
2 C. cabbage, shredded
1 tbsp. cornstarch
¾ C. onion, sliced
1 tbsp. teriyaki sauce
1 lb. boneless skinless chicken breast, thinly sliced
In a medium bowl, place the chicken, teriyaki sauce, sugar, and pepper. Toss to coat the chicken well and set aside. In a large skillet, with high sides, heat the oil over medium heat. Add onions and fry for about 3 minutes, or until just translucent. 
Add the garlic and stir fry for 1 minute, until fragrant.  
Add the chicken and brown, stirring every two minutes or so. 
Once the chicken is cooked, add the cabbage and stir well. Cover and allow cabbage to cook down and soften. 
Once the cabbage is tender to your liking, add teriyaki sauce and stir well. In a separate bowl, combine water and cornstarch to create a slurry. Once well combined, stir in slurry and allow the liquid to come to a boil. Once it comes to a boil, reduce heat to low and simmer until thickened. Serve over rice.

This is extremely delicious the next day as leftovers as well! I added broccoli for a little extra flavor!


Nutritional Info
  • Servings Per Recipe: 3
  • Amount Per Serving
  • Calories: 458.8
  • Total Fat: 6.2 g
  • Cholesterol: 86.7 mg
  • Sodium: 574.8 mg
  • Total Carbs: 71.2 g
  • Dietary Fiber: 1.5 g
  • Protein: 31.9 g

Friday, April 5, 2013

That doesn't come from a bottle?

     I bet most of you think that teriyaki sauce can only be purchased in a store, in a bottle. Or perhaps, that there are some crazy ingredients that we, here in the US, don't have access to. Well, fairies, that is not the case! Teriyaki sauce actually only contains a few simple ingredients, so you can make it at home and avoid all the fillers and preservatives that makes store-bought items last a decade. I may be biased, but I think this teriyaki sauce tastes better than the bottled version anyway! Plus, you can control the consistency, sweetness, saltiness, etc. As Chef John from Food Wishes always says, "You're the boss of your sauce!"

If you are gluten-free, you could even find some gluten-free soy sauce and voila! Gluten-free teriyaki sauce!

Teriyaki Sauce
Yields: 1 cup

C. water
C. sugar
C. soy sauce
¼ tsp. garlic powder
¼ tsp. vegetable oil
1 tbsp cornstarch


In a medium saucepan, add all ingredients and mix well. Place over medium heat and stir frequently. Bring to the boil and continue stirring. Watch frequently, as it may scorch. Once boiling, reduce heat to low and stir constantly. 
The mixture will begin to thicken and become glossy. Remove from heat and allow to cool completely. This sauce can be stored for 7-10 days in the refrigerator.

NOTE: Nutrition Facts are based on 1 tablespoon servings

Nutritional Info
  • Servings Per Recipe: 16
  • Amount Per Serving
  • Calories: 35.1
  • Total Fat: 0.1 g
  • Cholesterol: 0.0 mg
  • Sodium: 112.8 mg
  • Total Carbs: 8.5 g
  • Dietary Fiber: 0.1 g
  • Protein: 0.1 g

Friday, November 30, 2012

Creamy Holiday Potatoes

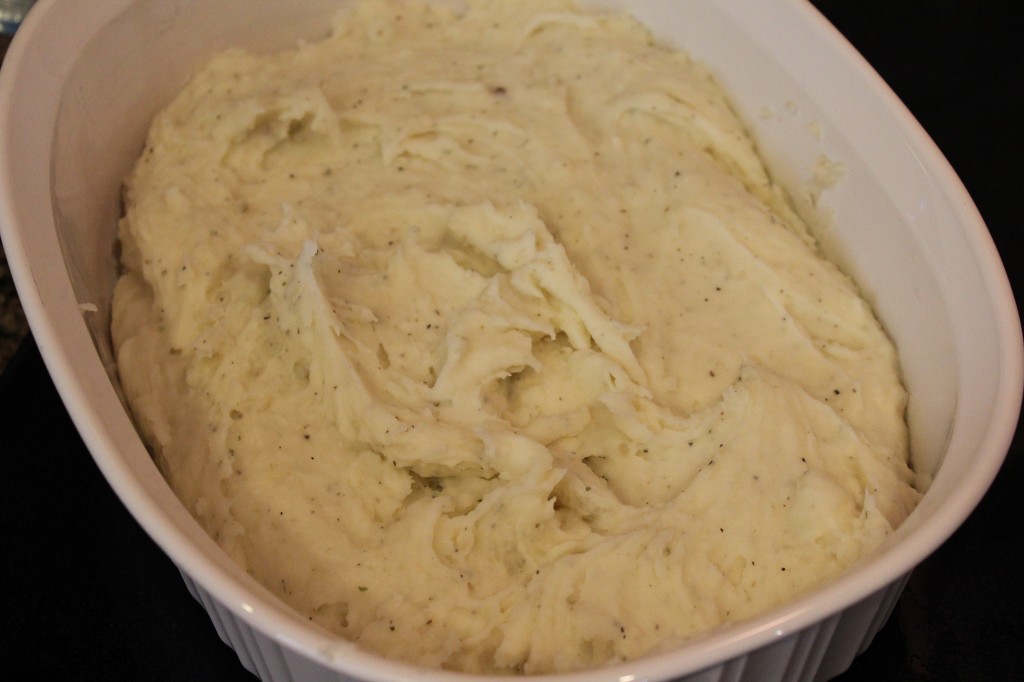
Around Thanksgiving and Christmas are the only two times in a year that I will forgive myself for all the unhealthy foods I've eaten. Throughout the year, I make my mashed potatoes using skim milk and very little butter or other fats. These mashed potatoes are rich, indulgent, and delicious, however fattening it may be, and I will ONLY make it around the holidays! Make sure you have a potato masher because if you use a handheld mixer it will overwork the starch and will make your creamy mashed potatoes turn into gummy mashed potatoes- not palatable.

Creamy Mashed Potatoes
Yields: 3-4 servings


1½ pounds Idaho potatoes, cubed
5½ tbsp. unsalted butter, cubed, room temperature
2½ ounces cream cheese, cubed, room temperature
2 tbsp. heavy whipping cream
½ tsp. Lawry's seasoning (optional)
salt and pepper, to taste

Bring a large pot of water to a boil and salt generously. Once boiling, place potatoes in the water and cook until fork tender. Depending on the size you cut the potatoes, they may take anywhere from 20-45 minutes; mine took about 25 minutes. Once cooked, drain in a colander and put the potatoes back in the hot pot and over a very low heat. Putting the potatoes back into the same pot over a low heat allows for excess water to evaporate. I found that cubing the butter and cream cheese before bringing them to room temperature will allow quicker meting, but cubing is not necessary. Once melted, add in the heavy whipping cream. Taste for salt and pepper and adjust your seasoning. If you choose to add the Lawry's seasoning, go a little lighter on salt.

Enjoy!

Nutritional Info
  • Servings Per Recipe: 4
  • Amount Per Serving
  • Calories: 380.7
  • Total Fat: 25.6 g
  • Cholesterol: 75.0 mg
  • Sodium: 92.1 mg
  • Total Carbs: 34.6 g
  • Dietary Fiber: 5.1 g
  • Protein: 5.3 g


Wednesday, November 28, 2012

Fettuccine Alfredo

Michael's favorite dish at Olive Garden is the chicken fettuccine alfredo. Have you ever taken the time to on Olive Garden's website to look at the nutrition facts for that dish?! If you enjoy it and care about what you eat, don't eat it. After Thanksgiving, I had some heavy whipping cream left over from Michael's pumpkin pie and from my mashed potatoes. While we were at the grocery store, Michael asked if we had enough heavy cream to make an alfredo sauce for dinner one night. When we got home, I checked and we only had about ½ cup remaining. Heavy cream wouldn't be an optimal choice to make a sauce when considering low-fat. The recipe I have today for you is much healthier and tastes JUST as good. I actually think it tastes better because it isn't as rich and doesn't overpower the palate.

Light Alfredo Sauce
Yields: 2 servings

½ medium onion, chopped
1 large garlic clove, minced
1 tsp. vegetable oil
1 c. skim milk
½ c. chicken broth
2 tbsp. all-purpose flour
½ tbsp. salt
½ tbsp. pepper
¼ c. parmesan cheese, grated


In a small sauté pan, heat the oil over medium heat. Add the onions and garlic and sauté for about 4-5 minutes or until slightly golden brown and soft. In a medium saucepan, stir together the milk, chicken broth, flour, salt, and pepper over low heat until smooth and thick. Add the sautéed garlic and onions to the saucepan and stir constantly until the sauce has thickened. Stir in parmesan cheese until well blended.

Serve over fettuccine noodles or any other type of noodle you prefer (or have on hand)!


Nutritional Info
  • Servings Per Recipe: 3
  • Amount Per Serving
  • Calories: 114.5
  • Total Fat: 4.3 g
  • Cholesterol: 9.1 mg
  • Sodium: 350.7 mg
  • Total Carbs: 11.9 g
  • Dietary Fiber: 0.8 g
  • Protein: 7.4 g