Showing posts with label Food. Show all posts

Tuesday, May 21, 2013

Carolina Strawberry Muffins!

"It was the best of times, it was the worst of times..." in the strawberry world, anyway. It's that time of year again where everyone buys 4 or 5 gallons of fresh, ripe strawberries and not enough recipes to use them in. Soon enough, everyone will be up to their eyeballs in frozen strawberries, jams, tarts, muffins, and SO much more. So, what do you do when your strawberries are past their prime? Use them any way you can. I think this recipe is a good recipe for muffins to take for breakfast, as they aren't too sweet, but still lend the sweet strawberry flavor that we all know and love. 


Carolina Strawberry Muffins
Yield: 12 muffins

1½ c. strawberries, chopped
½ c. granulated sugar, divided
¼ c. butter, room temperature
2 large eggs
1¾ c. all-purpose flour
½ tsp. baking soda
¼ tsp. salt
¼ tsp. ground nutmeg
⅛ c. skim milk


In a small bowl, combine the half of the sugar with the strawberries and set aside for one hour. This will give the strawberries time to macerate and create syrupy goodness!
After one hour, separate the liquid from the strawberries and reserve for later use. 
Preheat oven to 425F and line a muffin tin with paper liners. In a medium bowl, cream together the softened butter and remaining sugar until light, fluffy, and well combined. 
Beat in the eggs one at a time until well combined.
 Combine the flour, baking soda, salt, and nutmeg in a separate bowl.
 Add half of the flour mixture, combine well. Next, add the strawberry juice and combine. Add the remainder of the flour, combine well, then add the milk. The mixture should be a bit thick, but still easy to stir. 
Fold in the strawberries gently.
 Spoon into the prepared muffin tin. Bake for 16-18 minutes. Allow to cool in the muffin tin on a wire rack. 

Sunday, April 14, 2013

Creamy Chicken Skillet

     My fellow foodies, THIS is delicious. It was a simple dinner that I threw together in very little time, and allowed me to use some leftover ingredients so I didn't waste them! It was fast, it was easy, it was simple, and most of all, it was SO tasty. Michael and I agreed it tasted almost a bit like a broccoli casserole, minus the cheese. It did taste very similar, so I'm thinking adding cheese wouldn't be such a bad idea. Then again, when has adding cheese to something ever been a bad idea?
     We went to a furniture outlet this weekend and purchased a couch for our new home. I'm so excited! It is being made now and we will be able to pick it up May 17, 2013 or sooner! Hopefully, we will be moving into our home on April 25, but it may be pushed back. Keep us in your thoughts and prayers that the underwriting process through our loan moves quickly and everything stays on schedule.


Creamy Chicken Skillet
Yields: 4 servings

1 lb. boneless skinless chicken breast, 1" cubes
1 (10.75 oz) can cream of mushroom soup, undiluted
1½ c. milk
1½ c. water
½ tsp. dried basil
¼ tsp. garlic powder
2 tbsp. dried onion, minced
1 tsp. salt
1 tsp. black pepper
2 c. short cut pasta, uncooked
1 c. fresh broccoli, small chop
1 c. frozen peas


In a large skillet with high sides, heat olive oil over high heat. Once the oil is heated, add the chicken and brown on all sides. Cook the chicken thoroughly and then remove and set aside. 

Add the water and deglaze the pan, then add the milk. Once mixed, whisk in the cream of mushroom soup, dried onion, and basil. 


At this point, add the peas (or any other frozen vegetable you choose).

Bring this mixture to a boil and then add the pasta. Bring back to a boil and reduce to medium heat. 

Add the broccoli (or any other fresh vegetable you choose) and simmer for 10 minutes. 


At this point, add the chicken back in, with any juices that were left in the bowl, and cook for 5 minutes or until heated through.

I served along side my garlic breadsticks, which will be in a recipe to follow!


Nutritional Info
  • Servings Per Recipe: 4
  • Amount Per Serving
  • Calories: 346.5
  • Total Fat: 6.4 g
  • Cholesterol: 66.9 mg
  • Sodium: 1,420.7 mg
  • Total Carbs: 39.9 g
  • Dietary Fiber: 3.9 g
  • Protein: 33.8 g


Friday, April 5, 2013

That doesn't come from a bottle?

     I bet most of you think that teriyaki sauce can only be purchased in a store, in a bottle. Or perhaps, that there are some crazy ingredients that we, here in the US, don't have access to. Well, fairies, that is not the case! Teriyaki sauce actually only contains a few simple ingredients, so you can make it at home and avoid all the fillers and preservatives that makes store-bought items last a decade. I may be biased, but I think this teriyaki sauce tastes better than the bottled version anyway! Plus, you can control the consistency, sweetness, saltiness, etc. As Chef John from Food Wishes always says, "You're the boss of your sauce!"

If you are gluten-free, you could even find some gluten-free soy sauce and voila! Gluten-free teriyaki sauce!

Teriyaki Sauce
Yields: 1 cup

C. water
C. sugar
C. soy sauce
¼ tsp. garlic powder
¼ tsp. vegetable oil
1 tbsp cornstarch


In a medium saucepan, add all ingredients and mix well. Place over medium heat and stir frequently. Bring to the boil and continue stirring. Watch frequently, as it may scorch. Once boiling, reduce heat to low and stir constantly. 
The mixture will begin to thicken and become glossy. Remove from heat and allow to cool completely. This sauce can be stored for 7-10 days in the refrigerator.

NOTE: Nutrition Facts are based on 1 tablespoon servings

Nutritional Info
  • Servings Per Recipe: 16
  • Amount Per Serving
  • Calories: 35.1
  • Total Fat: 0.1 g
  • Cholesterol: 0.0 mg
  • Sodium: 112.8 mg
  • Total Carbs: 8.5 g
  • Dietary Fiber: 0.1 g
  • Protein: 0.1 g

Thursday, April 4, 2013

Cheddary Cheesy Cracker Goodness!

     While making this recipe last night, I thought of a good friend of mine who has two children. She tries to feed them organics wherever possible, and I was thinking, I bet they'd love some Cheez-Its. Only one problem, there isn't a USDA organic Cheez-It! Although my recipe isn't using organic ingredients, they can most definitely be used here! I am hoping she reads this and gives them a try! You control the ingredients!


I hate the mark-ups that grocery store chains and manufacturer's make on items nowadays! I don't understand how they can expect us to pay or items when we don't even know what is in them. I know the ingredients list states everything, but most of us need layman's terms. I am giving you fair warning, however, these are SO addicting. I almost wanted to make another batch as soon as the first was cool enough to taste! I couldn't believe how great they came out! They are so cheesy, buttery, and crisp! Although they aren't the most healthy recipe, you could change the cheese to one made with skim milk!

Cheddar Cheese Crackers
Yield: 8 servings (15 crackers)

1 ½ C. sharp cheddar cheese, finely grated
4 tbsp. unsalted butter, softened
½ C. plus 2 tbsp. AP flour
2 tbsp. cornstarch
1 tsp. salt
½ tsp. black pepper
¼ C. water


NOTE: This would work best using a stand mixer with a paddle attachment, but since I don't have one yet, I made my handheld mixer work!

Combine cheese, butter, salt, and pepper until combined and begins to form small dough balls. 
Add flour and cornstarch and mix until combined. At this point, the mixture will be crumbly.
 Add the water, 1 tbsp. at a time until your dough comes together into a ball. (You may not need the entire amount.) 
Transfer the dough to a floured surface and knead for about 1 minute or until a ball is formed. Shape into a small disk, wrap with plastic wrap and refrigerate for 30 minutes, or until chilled. (It can be left much longer, but the dough will crack if you try to roll while extremely cold, so take it out about 10 minutes prior to rolling if you are leaving it longer.)

Adjust your oven racks to the upper-middle and lower-middle positions and preheat oven to 375 F. Line a rimmed baking sheet with parchment paper. Unwrap dough onto a well floured surface and begin rolling to ¼" thickness.

Cut into 1" squares using a knife (I found a pizza cutter works very well for this) Using a toothpick or skewer, poke a hole in the center of each square and transfer to the baking sheet.

Bake for 9 minutes, rotate and switch pans, bake for 9 additional minutes. Remove from oven and let cool on baking sheet. 


Nutritional Info
  • Servings Per Recipe: 8
  • Amount Per Serving
  • Calories: 179.9
  • Total Fat: 12.9 g
  • Cholesterol: 38.0 mg
  • Sodium: 423.4 mg
  • Total Carbs: 9.7 g
  • Dietary Fiber: 0.3 g
  • Protein: 6.4 g

Wednesday, November 28, 2012

Fettuccine Alfredo

Michael's favorite dish at Olive Garden is the chicken fettuccine alfredo. Have you ever taken the time to on Olive Garden's website to look at the nutrition facts for that dish?! If you enjoy it and care about what you eat, don't eat it. After Thanksgiving, I had some heavy whipping cream left over from Michael's pumpkin pie and from my mashed potatoes. While we were at the grocery store, Michael asked if we had enough heavy cream to make an alfredo sauce for dinner one night. When we got home, I checked and we only had about ½ cup remaining. Heavy cream wouldn't be an optimal choice to make a sauce when considering low-fat. The recipe I have today for you is much healthier and tastes JUST as good. I actually think it tastes better because it isn't as rich and doesn't overpower the palate.

Light Alfredo Sauce
Yields: 2 servings

½ medium onion, chopped
1 large garlic clove, minced
1 tsp. vegetable oil
1 c. skim milk
½ c. chicken broth
2 tbsp. all-purpose flour
½ tbsp. salt
½ tbsp. pepper
¼ c. parmesan cheese, grated


In a small sauté pan, heat the oil over medium heat. Add the onions and garlic and sauté for about 4-5 minutes or until slightly golden brown and soft. In a medium saucepan, stir together the milk, chicken broth, flour, salt, and pepper over low heat until smooth and thick. Add the sautéed garlic and onions to the saucepan and stir constantly until the sauce has thickened. Stir in parmesan cheese until well blended.

Serve over fettuccine noodles or any other type of noodle you prefer (or have on hand)!


Nutritional Info
  • Servings Per Recipe: 3
  • Amount Per Serving
  • Calories: 114.5
  • Total Fat: 4.3 g
  • Cholesterol: 9.1 mg
  • Sodium: 350.7 mg
  • Total Carbs: 11.9 g
  • Dietary Fiber: 0.8 g
  • Protein: 7.4 g

Friday, December 16, 2011

     Like everyone in the general public, I have to exercise self-control on a day-to-day basis. I try to find ways to make that a little easier. I don't have much of a sweet tooth. I tend to walk on the savory and salty side of life. I also REALLY love crunchy things. If you sit a bag of chips beside me (preferably kettle-cooked), I WILL eat the whole bag. 
     But, Ashley...I thought you had self-control?
                  Correct! I do, but sometimes I choose not to...and that's a bad thing!


Anyways, I thought this recipe would be a fun try. They are baked, so there isn't any frying like a potato chip. I figured they would be a good alternative to potato chips...and they're ranch-flavored! Of course, you can experiment with these and do any number of alternate seasonings (rosemary parmesan, salt and pepper, etc.).


Ranch Oyster Crackers
Disclaimer: All ingredients are to taste for this recipe.

1 tbsp. Ranch Seasoning
1 tbsp. Dill Weed
3 tbsp. Vegetable Oil
2 tsp. Garlic Powder
1/2 tsp. Salt
1 1/2 c. Oyster Crackers

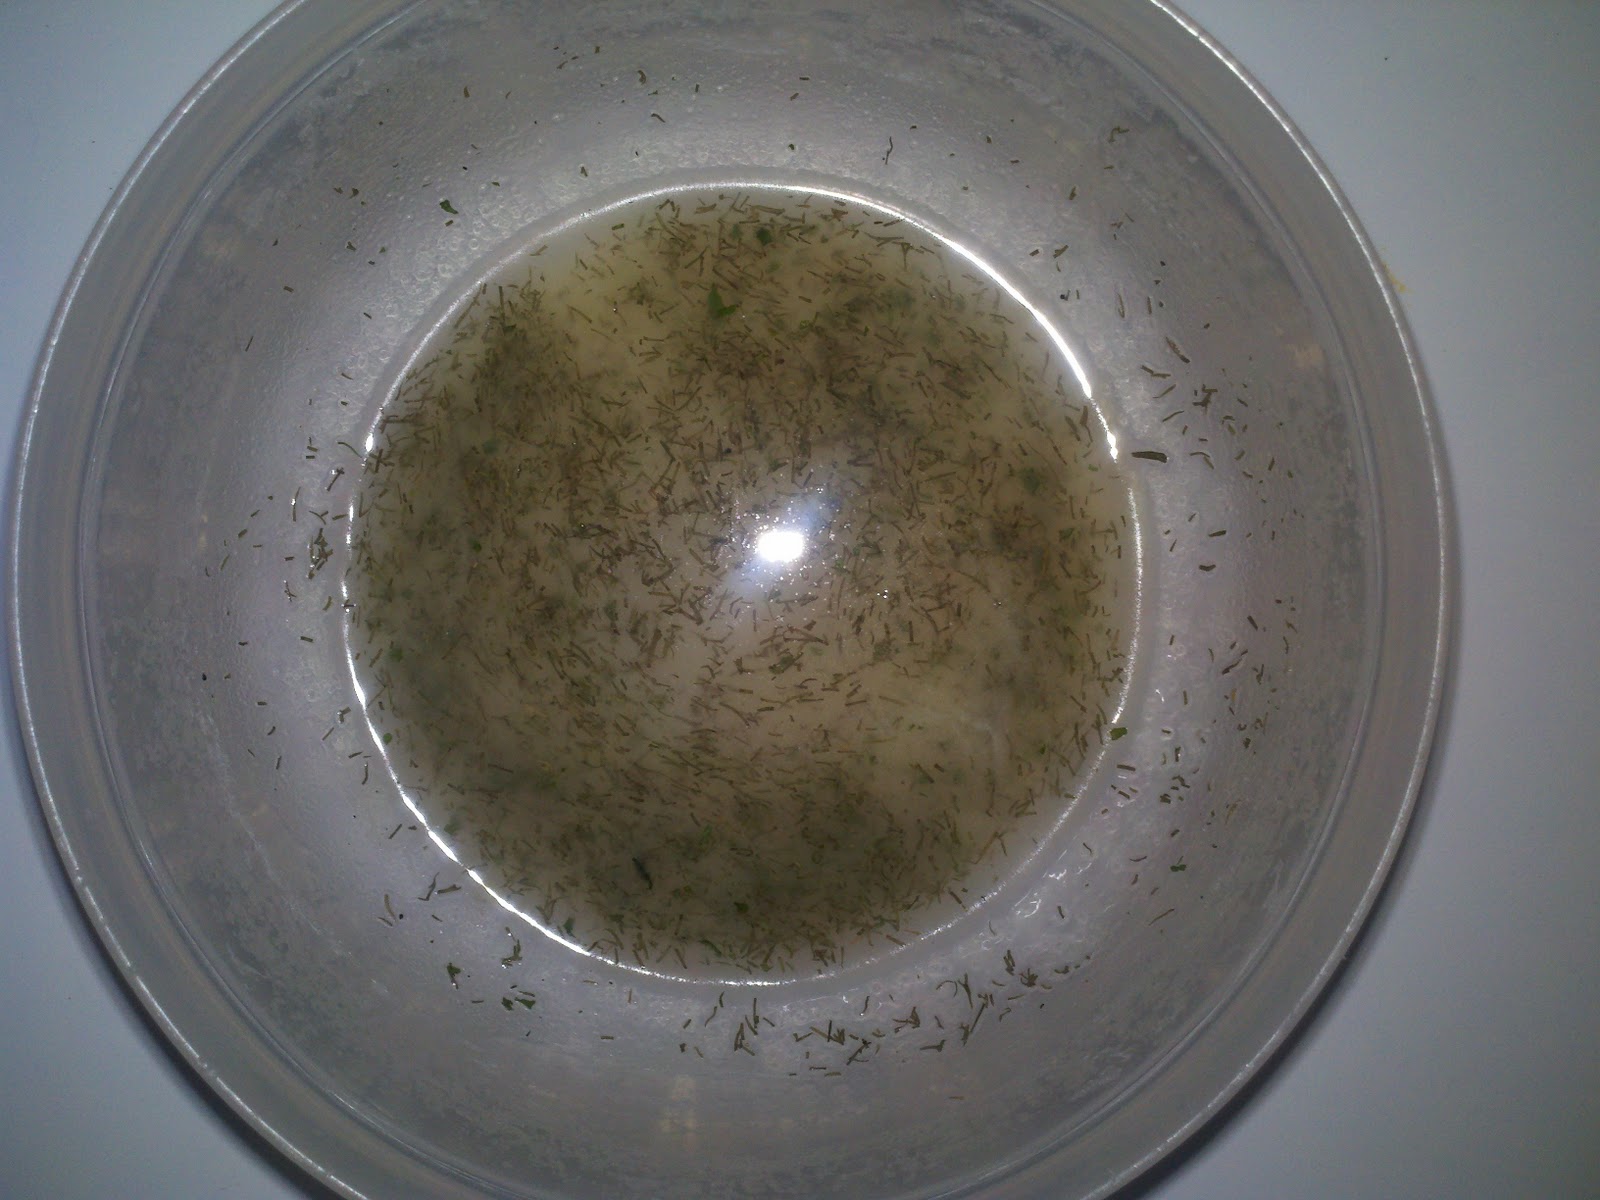
Preheat oven to 250°F. In a bowl, mix the Ranch Seasoning, Dill Weed, Vegetable Oil, Garlic Powder, and Salt. Once those ingredients are well mixed, add the oyster crackers and toss to coat. 


I started with only 1 cup of oyster crackers and found that I had extra liquid in my bowl, so this is where I added another 1/2 cup of crackers. 


Pour the coated crackers onto a baking sheet (I lined mine with foil). Bake for 15 minutes, giving them a quick stir every 5 minutes. If you want them a little darker, just leave them in an additional 3-5 minutes! Remove and let cool. Then, place in a covered container for a quick and easy snack! 


Happy Cooking!